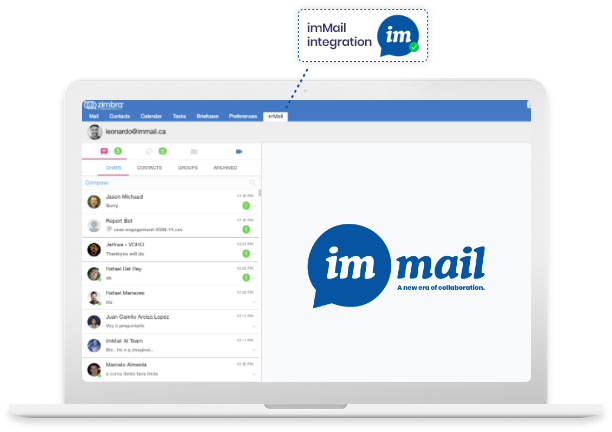
imMail and Zimbra at the same screen.
imMail is the most powerful integration with Zimbra to make videoconferences, chat, manage tasks and files.
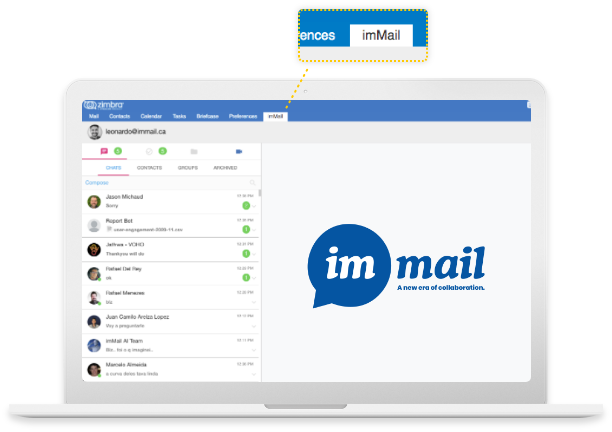
imMail has a WorldWide partnership with Zimbra. We provide our collaboration App as a Zimlet to enhance the user experience towards Zimbra Collaboration Suite.
For years, thousands of Zimbra’s customers were claiming to have a messaging app connected to Zimbra. In this new era, it’s essential to have a messaging app and run a real-time collaboration environment across the company.
Because of that, we have decided to work hard in order to provide the best experience possible for Zimbra’s customers using imMail inside Zimbra Collaboration Suite.
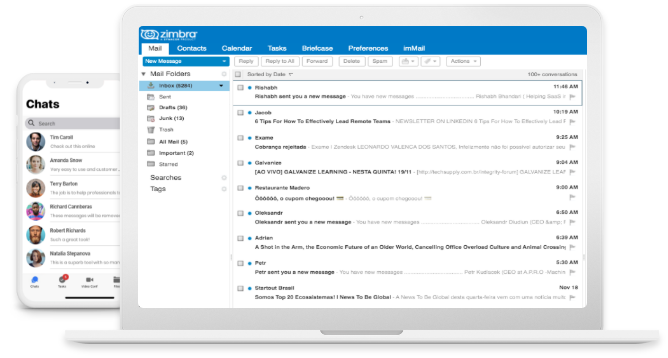
Here you will find important instructions to install a Zimlet that makes possible the integration between Zimbra Collaboration Server and imMail (Instant Messenger for Companies), and make an amazing integration with both inside the Zimbra Web Client.
Download the appropriate Zimlet according to the interface version used in Zimbra.
Zimlet for Zimbra 8.8.x (Web Version App – Classic) – You can also use this Zimlet version with Zimbra 9.x as long as the Classic Web Version App is selected.
Zimbra for Zimbra 9.x (Web Version App – Modern)
Follow the steps below or click here to watch the tutorial video.
This Zimlet supports optional single sign-on to imMail using the imMail API.
That way you only need to maintain the user accounts on Zimbra.
The account creation can be done via LDAP import or by the own user on imMail platform, but in both cases you will still be logged on automatically (single sign-on integration).
Or you can just deploy only the Zimlet and let the user decide on the authentication (basic integration).
If you do not want to activate the Single Sign-on option, skip this step and go straight to the Basic Integration.
In order to allow the integration with imMail, it will be necessary to generate an API KEY.
1 – For Single Sign-on Integration you have to set-up the Java server extension. Download the extension.jar file and copy it to
/opt/zimbra/lib/ext/immail/extension.jar
Probably you will need to create the immail folder in
/opt/zimbra/lib/ext
See the example below:
$ mkdir /opt/zimbra/lib/ext/immail $ cp extension.jar /opt/zimbra/lib/ext/immail/extension.jar
2 – Then create the config.properties text file in
/opt/zimbra/lib/ext/immail/config.properties
with the contents:
immailURL=https://api.immail.ca immailCreateTokenPath=/auth/token
3 – This Zimlet allows integration of multiple domains. In order to make it possible, it is necessary to create the file in
/opt/zimbra/lib/ext/immail/config.domains.json
as the example below:
[ { "domain": "companyxpto.com", "apiKey": "fbg3QZA9vZS9KCB62kb2E3mVWZu6Ez67" }, { "domain": "companyxyz.com", "apiKey": "6SbkuQa9h6Te5N9yxJsGaPnWGFhXk2an" } ]
Note that you have to set the API Key and the correspondent domain. Each API Key is unique and exclusive for each domain. If you have no API Key, please, contact us via imMail App (support@immail.ca).
4 – Restart the service as follows:
$ zmmailboxdctl restart
# su zimbra
$ zmzimletctl deploy ca_immail.zip
$ zmprov mc default +zimbraProxyAllowedDomains *.immail.ca
$ zmprov flushCache zimlet
In order to keep synchronized the user data in both platforms, Zimbra and imMail, the LDAP data should be configured on imMail.
Note that you might create an LDAP search filter. If you provide “Base” and “Filter” data, as the picture below, you’ll be able to import all users from the current domain.
Click on “Save”;
At this point, before to start the import process, your server firewall must be configured to allow the imMail servers IPs 52.67.75.8, 18.231.25.161 and 13.127.134.188
After that, click on “Sync AD/LDAP” in order to import the Zimbra users.
No information related to LDAP will be presented into the imMail tab.
If someone has a problem like this on Chrome, the browser can be blocking third-party cookies.
To find the setting option screen/windows, open Chrome settings, type “content” in the search box, click the Content Settings option, then click the Cookies option and uncheck the option that says something like this “Block third-party cookies and site data”.
Click here for more info.
If you have any trouble, please email us through support@immail.ca. We will be glad to help you with this integration.
Please let us know. Our team is prepared to be in touch with you.